Assembling the pcb into the housing.
Down below follows an
instruction about how to assembly the pcb into the housing. Be aware of that all
models of the RRC do not have the extra D-sub on the back.
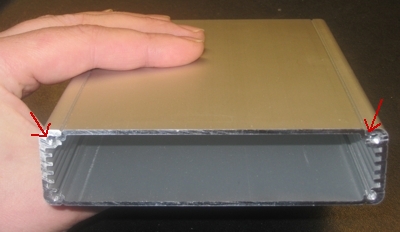
Put the plastic edging in place.


|
Assembling the pcb into the housing. |
|
|
Down below follows an
instruction about how to assembly the pcb into the housing. Be aware of that all
models of the RRC do not have the extra D-sub on the back. |
|
|
|
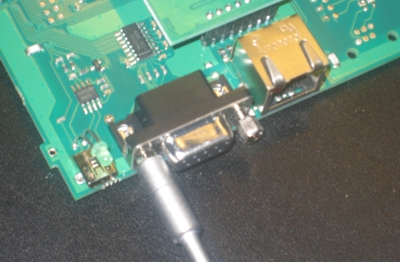
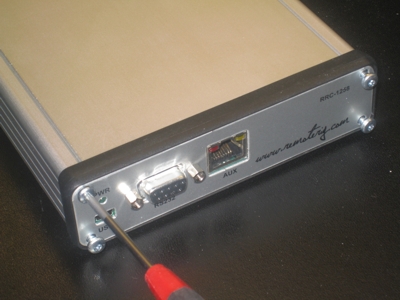
Start with disassembling the screws from the D-sub. The tool is 5 mm. |
|
|
Put the front in place, put the screws back, but do NOT tighten them hard yet |
|
|
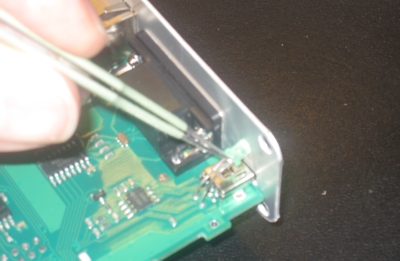
Adjust the green LED so it will look out thru the hole in the front. |
|
|
Identify the top of the housing. The lid is sledded in the to the rails. It's important that the lid is on top if the pcb should fit properly. |
|
|
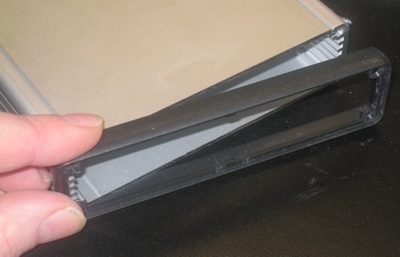
Put the plastic edging in place. |
|
|
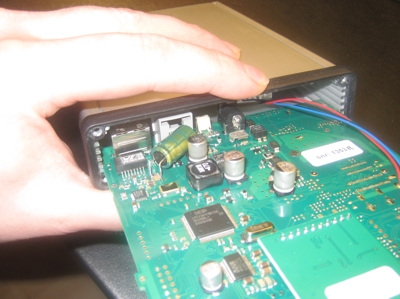
Drop the *D-sub first and then slide in the pcb in the bottom rail |
|
|
Attach the front panel with the four TORX screws. Tool is T10. |
|
|
Now you can tighten the screws to the D-sub but be careful not to tighten to hard. |
|
|
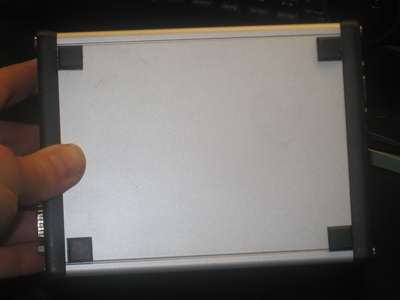
Turn the housing around and attach the plastic edging. |
|
|
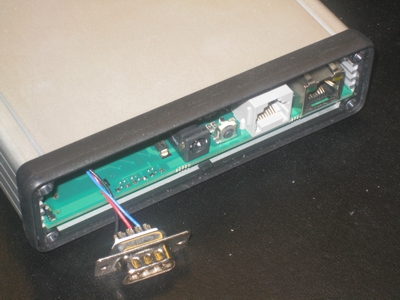
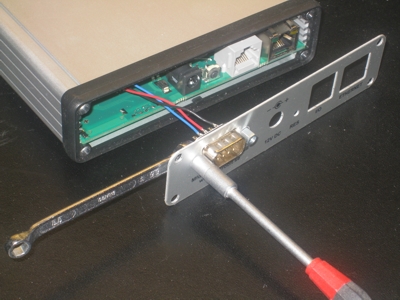
Assembly the *D-sub into the back panel with the nuts. (enclosed) |
|
|
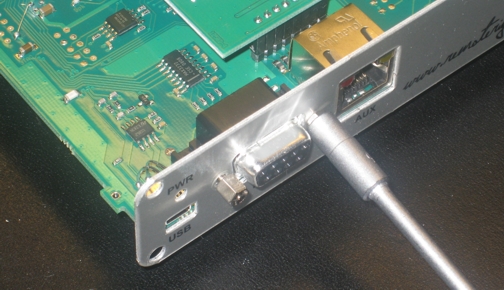
Tighten the *D-sub. On the outside the tool is 5mm and on the inside 5.5 mm |
|
|
Assembly the back panel and tighten the TORX screws. |
|
|
The last moment is to attach the rubber feet's. |
|
If you later have to
disassembly the unit, the easiest way is to first disassembly the screws to the
front D-sub. Then disassembly the back panel and slide out the pcb backwards.
It's not necessary to disassembly the back D-sub. |
|
| * Be aware of that all earlier models do NOT have the D-sub on the back. Today all have it already there. | |