
Hardware configuration
The RRC-1258MkIIs- v7 supports FT-857 without any modifications to the hardware. There is a complete package available in the web shop with needed cables. RRC-12158MkII(s) of earlier versions can also be used with some special cables or hardware mods, see mods.
Attention !
The FT-857 can enter a state where it’s absolutely unreachabale until you remove the 13.8V Power source. Reset of the RRC doesn’t help, even fysical disconnect of the RRC doesn’t help. This happens rarely but if you have the radio on a QTH where you have no one who can switch off the power supply it’s recommended to install a remote controlled switched so you can switch off the 13,8V power to the radio. For example a Webswitch 1216H, or a GSM Switch, If you do no use all outputs on the RRC-1258 you can use one of the outputs to control a relay which can switch off the 13.8V power to the Radio.
Note!
The FT-857 make a very high rush current when starting so even some 25-30A PS can be to weak to keep the voltage > 10 V at the starting up moment. If you connect the RRC to the same PS as the radio and notice that the RRC reset when the radio starts, you need a separate PS for the RRC.
</>
/>
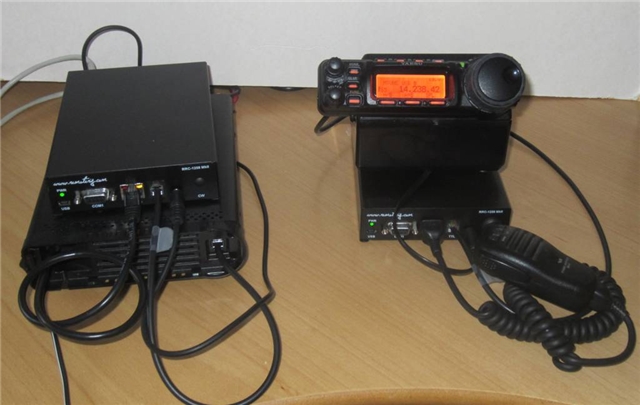
Connections
The cabling is quite simple and can be done with simple RJ and modular connectors. The 5 wire control cables are the same on control and radio end, but be aware of that the cables must be connected as shown in the schematics.
Control-RRC:
– The control cables 2x Y9a is included in the package. One of the control cables Y9a should be connected between the Control panel and the RRC TTL connector. The cable has a yellow mark in the RRC end, it will not work if you try to use it connected backwards.
– The original microphone can be connected direct to the RRC AUX/MIC connector.
– The speaker is connected direct to the RRC SP-jack with a 3.5 mm stereo plug.
Radio-RRC:
– One of the control cables Y9a should be connected between the Control panel and the RRC TTL connector. The cable has a yellow mark in the RRC end, it will not work if you try to use it connected backwards.
– Between the RRC AUX/MIC connector and the radios microphone jack you can connect the standard screened patch cable (CAT5 or CAT6) included in the package.
– The speaker audio is included in the control cable and no extra cable are needed.